Pantry Organization by Meal, Package Size, and Everyday Reach
A practical pantry helps you see what is available and return it after cooking. Matching containers are optional. This plan begins with the packages you actually buy and the meals you make, then uses a small number of clear zones that can survive a busy week.
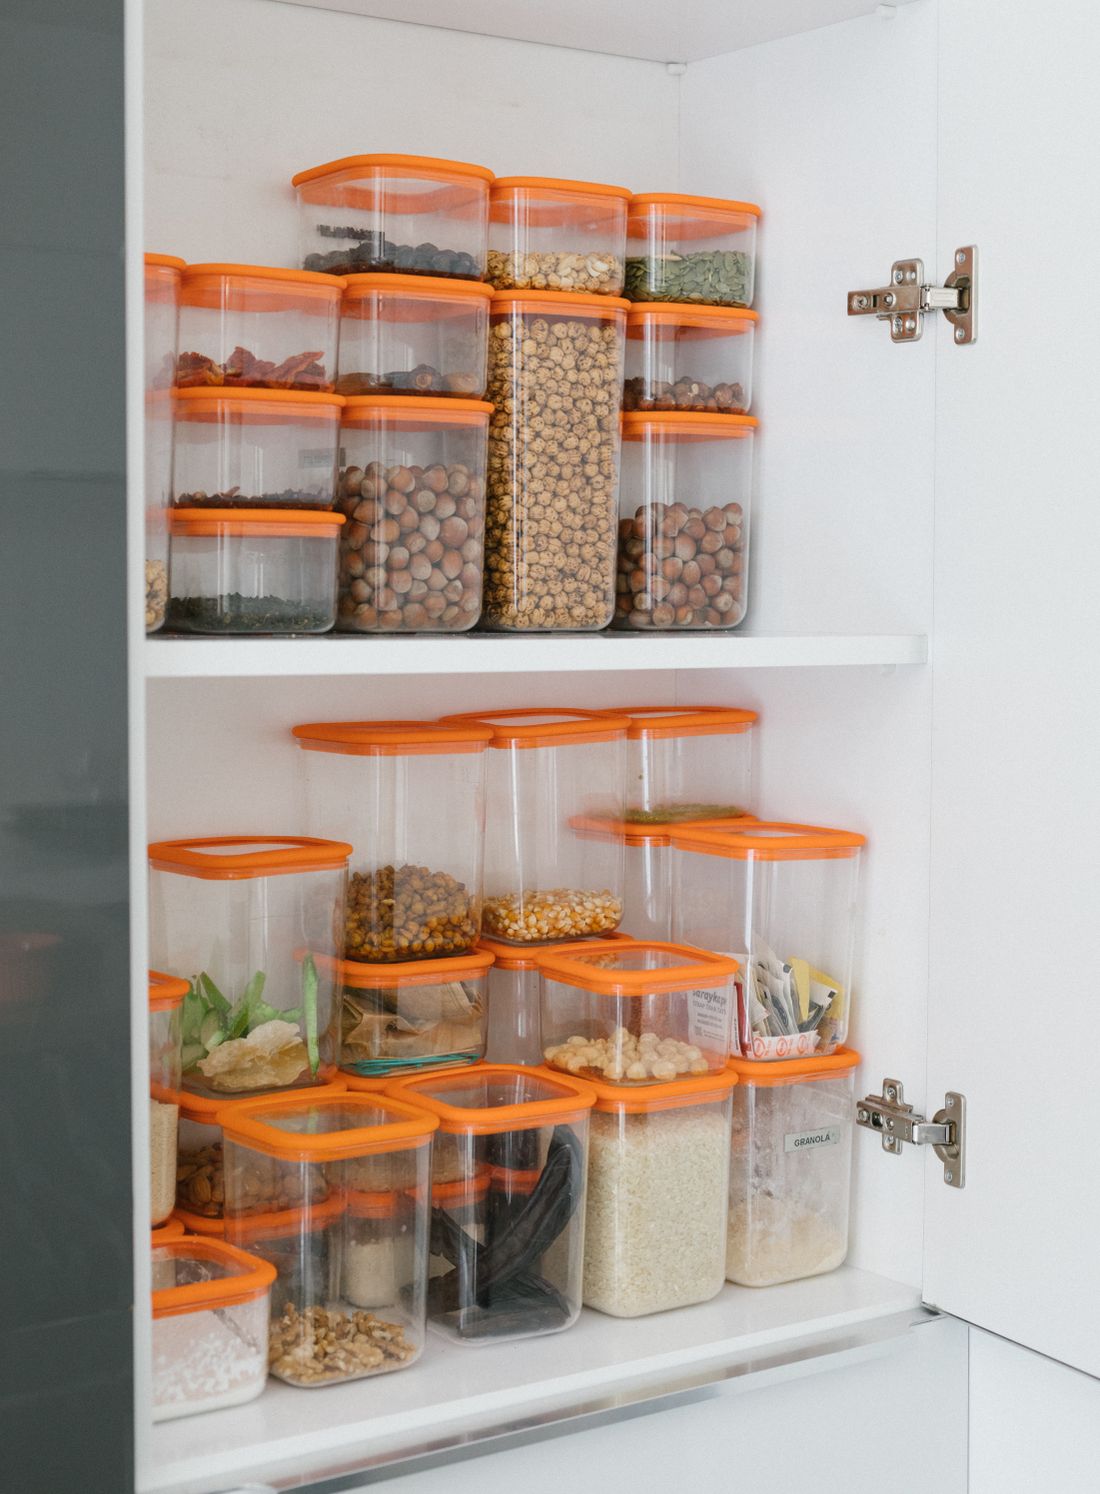
Photo: Meruyert Gonullu · License. Illustrative stock photography.
Inventory one shelf at a time
Remove a manageable group of items and check the packaging condition and label information. Keep a list of what you have before planning containers or buying duplicates. Separate food from cleaning products and other non-food belongings. Deal with damaged, questionable, or unsuitable items using the relevant product and food-safety guidance; this is an organization plan rather than a food-storage-duration chart. Avoid turning the entire kitchen into piles that cannot be put away before the next meal.
Create zones from normal meals
Group foods by how your household uses them: breakfast, baking, grains, snacks, or quick meal components. A cuisine-specific zone may work if it reflects frequent cooking, but a single enormous miscellaneous basket usually hides more than it organizes. Keep categories broad enough that another household member can understand them. Place frequently used items in convenient reach and keep heavy packages low enough to handle comfortably. Let the routine determine the arrangement rather than the color of the packaging.
Measure shelves and package movement
Record usable depth and height, including the space needed to lift or pull a container out. A tall jar may fit under a shelf but remain difficult to remove. Check whether a door rack would collide with interior storage before purchasing one. Use a temporary box as a size test. Deep shelves often benefit from a front and back strategy, with current stock forward and clearly labeled backups behind, rather than rows of unrelated items disappearing into the rear.
Decant only when the benefit is clear
Keep food in its original package unless another container improves a real problem such as an awkward opening or scattered small packets. When transferring food, use a suitable food-contact container and retain the ingredient, allergen, preparation, lot, and date information you may need. Do not rely on a pretty label with only the food name. Avoid topping up indefinitely without tracking the older contents. A container should make use and cleaning easier, not erase useful product information.
Separate current stock from backups
Choose a visible place for opened or next-to-use packages. Keep extras together so you can shop from existing supplies first. One small inventory note may be enough for a deep cupboard; an elaborate spreadsheet is unnecessary if no one will maintain it. Do not buy more simply to fill the available space. The right capacity depends on shopping frequency, household use, package instructions, and the conditions of the storage location rather than a universal number of jars.
Design the maintenance pass
Before grocery shopping, check the current-stock area and write down actual gaps. After unpacking, place new items so older suitable stock remains visible. Wipe storage surfaces as appropriate and let them dry before returning items. If a category overflows regularly, investigate whether the zone is too small, purchases are duplicating existing stock, or the foods are rarely used. A pantry needs a simple repeatable habit more than another batch of bins.
Your working checklist
Checkmarks stay in this browser when storage is available. They do not submit a form or complete a booking.
Put it into practice
- Choose one shelf and record the products, package sizes, and items used most frequently. Keep important packaging information and move non-food products to an appropriate separate storage area.
- Mark three to five broad zones based on meals you actually prepare. Test the zones with existing packages before measuring for containers, and keep heavy items at a manageable height.
- Trial a bin or jar only where it solves a specific problem. Confirm that it fits, can be lifted out, is suitable for food where needed, and has a clear plan for preserving product information.
- Run the arrangement through a shopping and cooking cycle. Check stock before buying, put current items in front, and revise any zone that repeatedly hides food or makes returning packages awkward.
Before you finish
- Food and cleaners are separate
- Packages remain identifiable
- Heavy items are manageable
- Containers fit with handles
- Allergen details are retained
- Backups are visible
Common questions
Do I need matching pantry containers?
No. Original packages and a few useful bins may be enough. Buy containers after identifying a problem and measuring the space, rather than transferring every product for visual consistency.
Can I discard every original package after decanting?
Do not discard information you may need. Preserve ingredients, allergens, preparation guidance, dates, and identifying details. A basic food-name label does not replace all of the information supplied on the package.
How should I handle a very deep shelf?
Keep a defined front zone and clearly identified backups behind it, or use removable bins that can be lifted out. Avoid large heavy containers that make access harder than the original shelf.